

Sewing for baby: Free Tutorial Ribbon dummy Holder
- Claire
- Jun 26, 2019
- 2 min read
Hi guys 👋,
Today I wanted to show you a very quick and easy make, always appreciated by new mums!

A dummy holder is the perfect gift for a new mum to be and it's always good to have in your nappy bag!

You don't need much material either: I don't like, or recommend, to have a finished dummy clip longer than 6 inches for safety reasons.

I gathered 16 inches of 5/8 wide grosgrain ribbon, a safety dummy clip (I got mine from eBay), interfusible scrap, a KAM pliers set with the pliers and snaps (but you could also use the snaps that you can just hand sew), a lighter and a hole puncher.

To start, put your dummy clip in the ribbon, and using a zigzag stitch, stitch the end together. Trim the corners and the stitch allowance then give the edge a quick bit of flame using the lighter to finish the edges extremely strongly.

Then trim 2 bits of your interfacing to 5/8 width and no longer than 4 inches. Turn your dummy clip right side out, and give it a good press. Now is the time to topstitch. On my tutorial it shows I've done it after putting the snaps, but I can guarantee you it was hard work avoiding 2 snaps plus the clip and it did not give the clean effect I wanted. Use your zipper foot, and be careful when you come close to the clip. Don't hesitate to use the handweel!

Time to put your snaps in. Make a hole through all the layers of fabric, and put your snaps on, keeping them 2 inches apart. Make sure that both the male and female part are on the same side of the dummy clip.

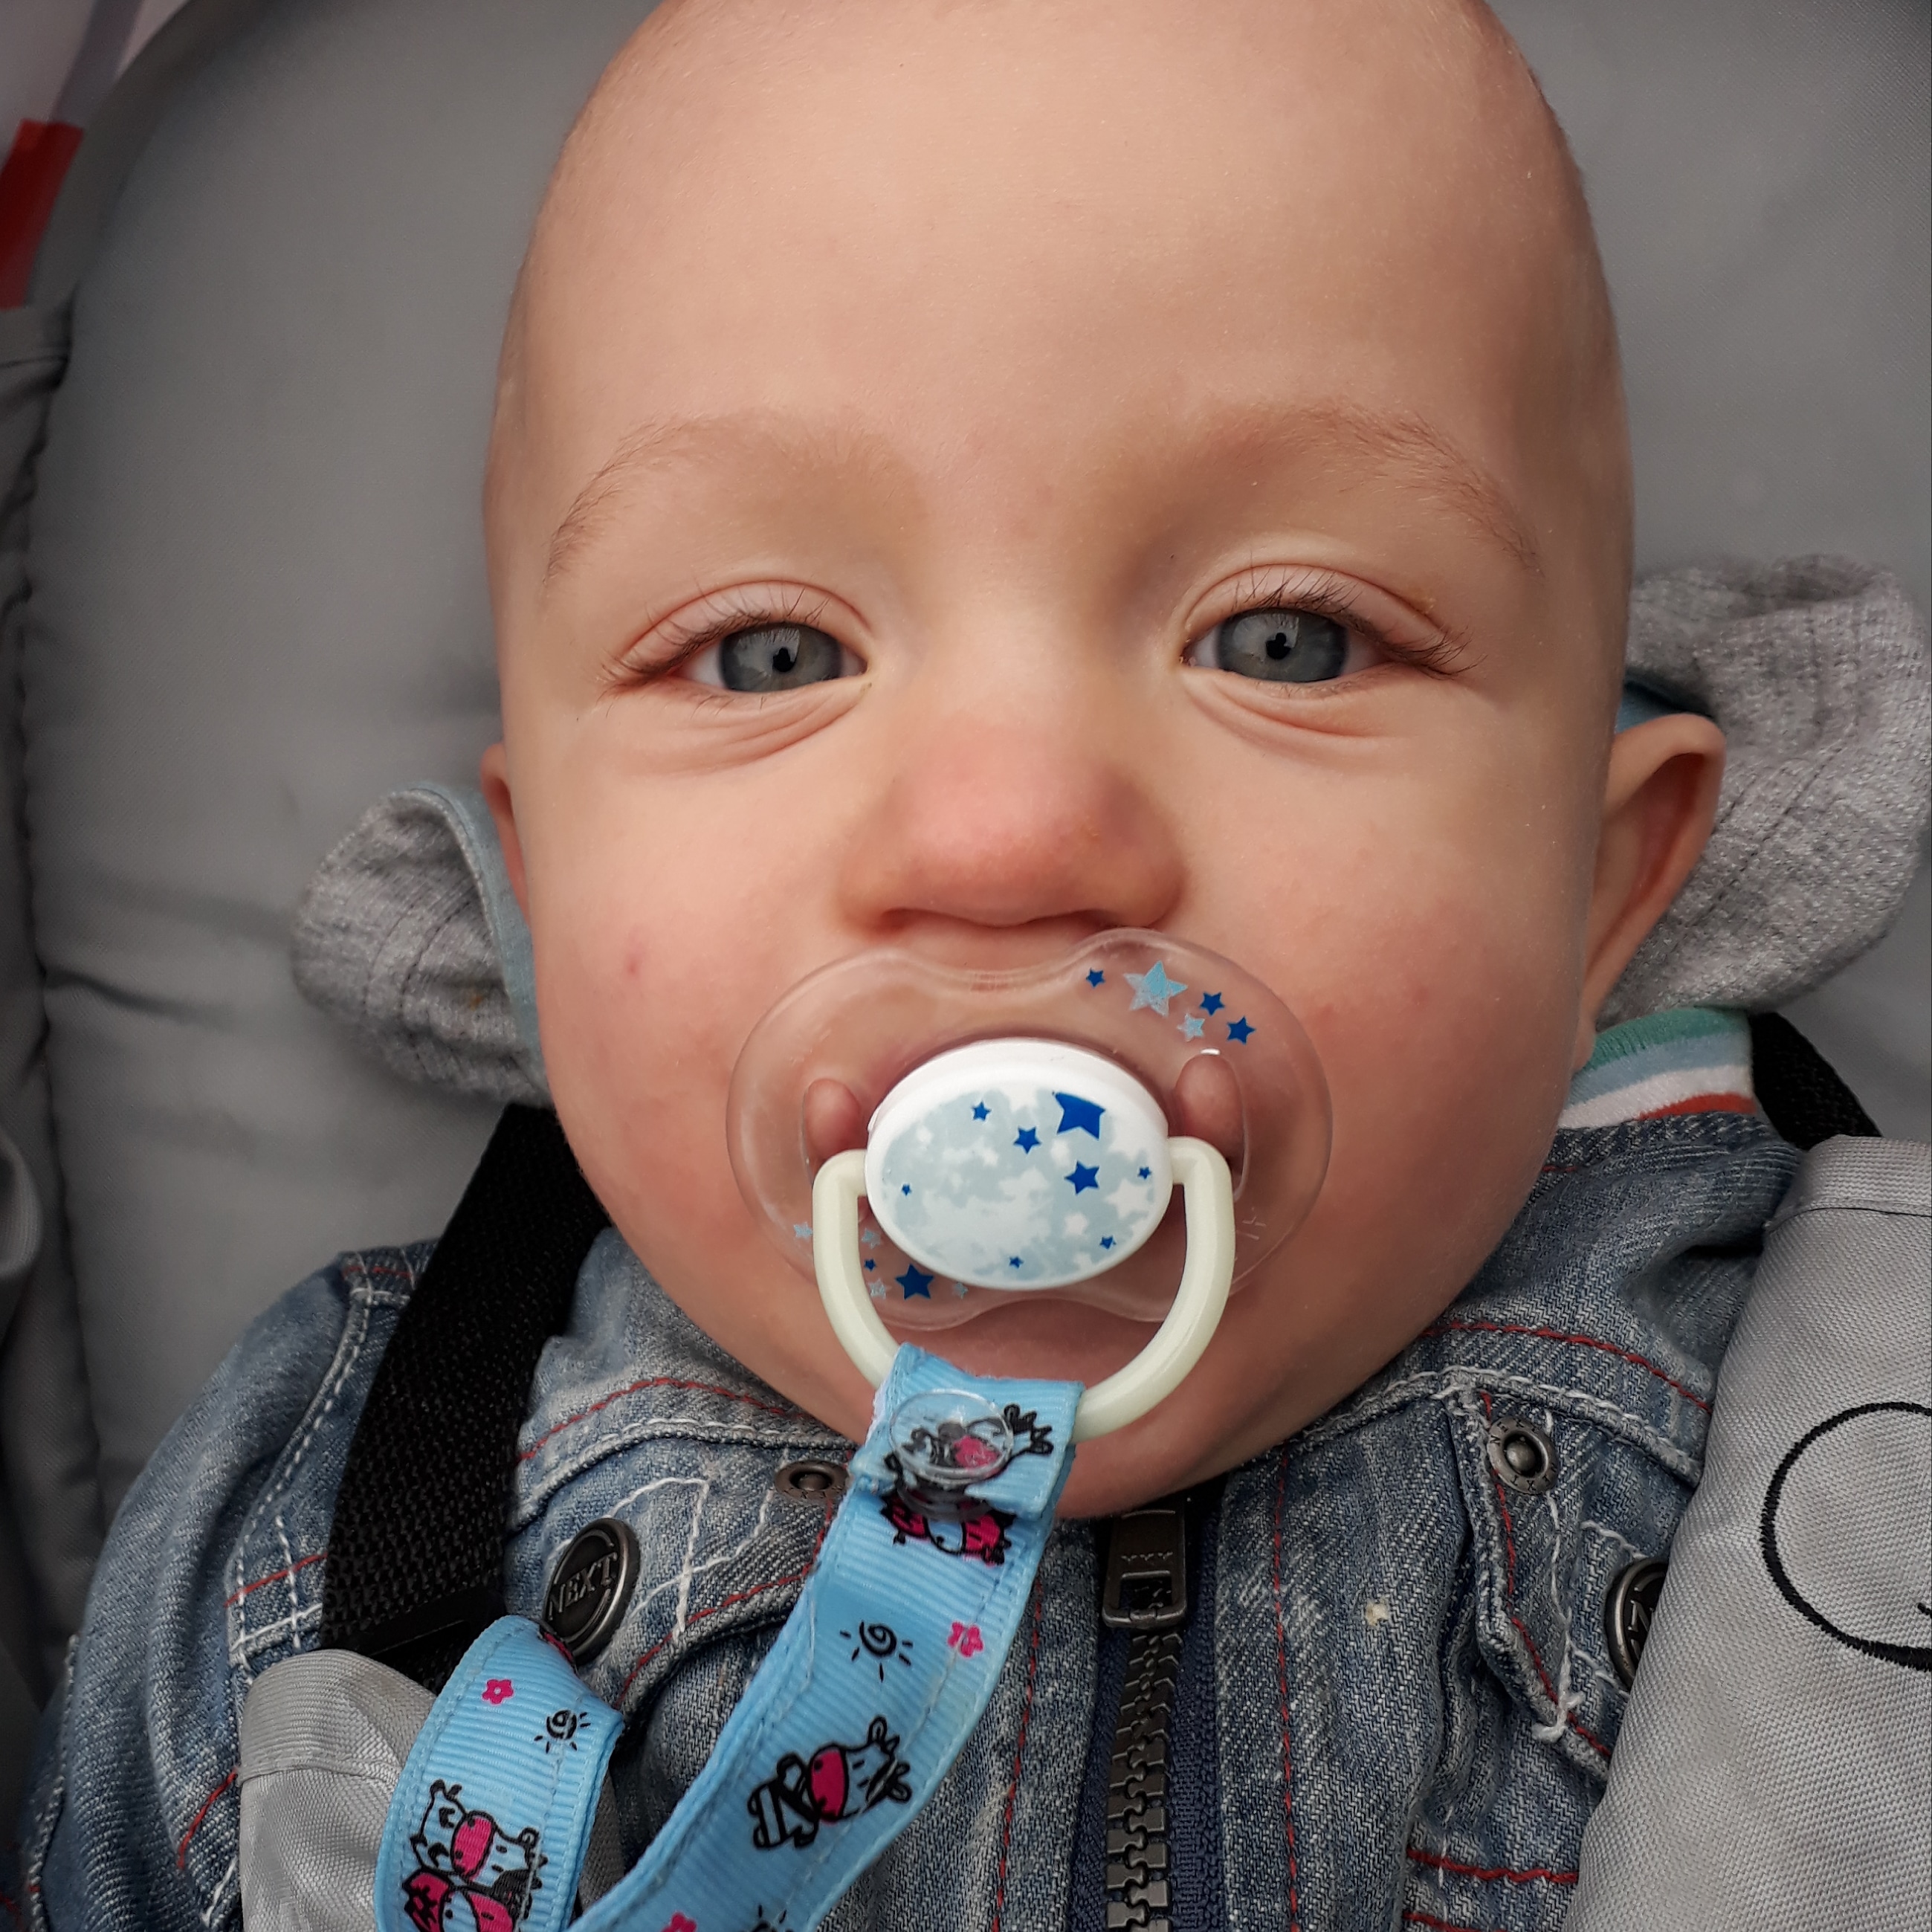
And there you are, a lovely dummy clip, robust and safe that will keep the dummy as clean as possible with a baby!
Please don't hesitate to tag me to show you how cute are your dummy holders @seweasypeasy on Twitter and Instagram using #seweasypeasy and on Facebook @seweasypeasyblog, I'm looking forward to seeing your creations!
Happy sewing,
Claire xx


Comments