

No Pattern Off the Shoulder Gypsy Peasant Blouse Tutorial
- Claire

- Jun 7, 2019
- 3 min read
Hi guys 👋,
Today I wanted to show you a kind of blouse that is extremely quick and easy to make, even for a beginner!
And this time we don't even need for pattern either, not even one of our #FreePDFpattern, just grab your favourite vest, 2 metres of fabric (lightweight fabric only, but woven or jersey will both work fine), a water erasable pen and a pair of scissors, and off we are!

To start, fold your fabric in half, lie down your vest on top of it and cut roughly 2 bits of fabric like this. Make sure you save a couple of inches on top and bottom bit, to make the elastic casing later.

Then, cut the selvadge off (you can keep it if you fancy making ties instaed of using elastic, it'll look brilliant!) and bring your vest towards the raw edges of the fabric. Using your vest as a guide, determine where to trace a straight line to create the arm scythe, like so

Cut off the triangle, open your fabric, cut it in the middle and report the arm scythe to the other side. You should have 2 identical bits with a triangle missing on the yop edge of each side: they are your front and your back piece.
To create your sleeves, determine the length you'd like by measuring on your arm, knowing it's an off the shoulder top, you'll measure from your shoulder showing (short or long sleeves) and add a couple of inches for the casing. Then repeat the process of folding the fabric and cutting a triangle on top of the corner to create the arm scythe. Your 2 sleeve bits need to be less wide than the top and back bit, if you're petite you can use half of your fabric width to create both your arms. You should end up with 4 pieces, 2 set of twins: 2 sleeves and the top and back pieces

Then, right side together, sew a front bit to a sleeve, finish your raw edges and press towards the sleeve

Then, just like for a raglan, you sew the back bit right side together to the other armscythe of the sleeve we've just sewn to the front, then the other sleeve is sewn right side together to the back piece, then front bit. I took pictures for you but it didn't look right and was pretty confusive, so I found this illustration online for you:

After that, sew the side seams together. If you're not sure how to find your side seams, fold a sleeve in half RST matching the raw edges, and join the front and back pieces, sew in one go. Now it starts looking like a top

Finish your raw edges, press to one side. Finish all raw edges (neckline, sleeves, hem_we're not hemming now though, just finishing the raw edges at the hem) and turn them all in by 1 1/4", folding 1/4" inside like so. At the neckline, you will need to stretch and even the fabric before being able to just create a casing. Make sure you leave enough room at the corner for the armsythe to have enough room for the elastic to slide through later on! Don't hesitate to play with the fabric and cheat a bit, it'll loook just fine once the elastic will be inserted.

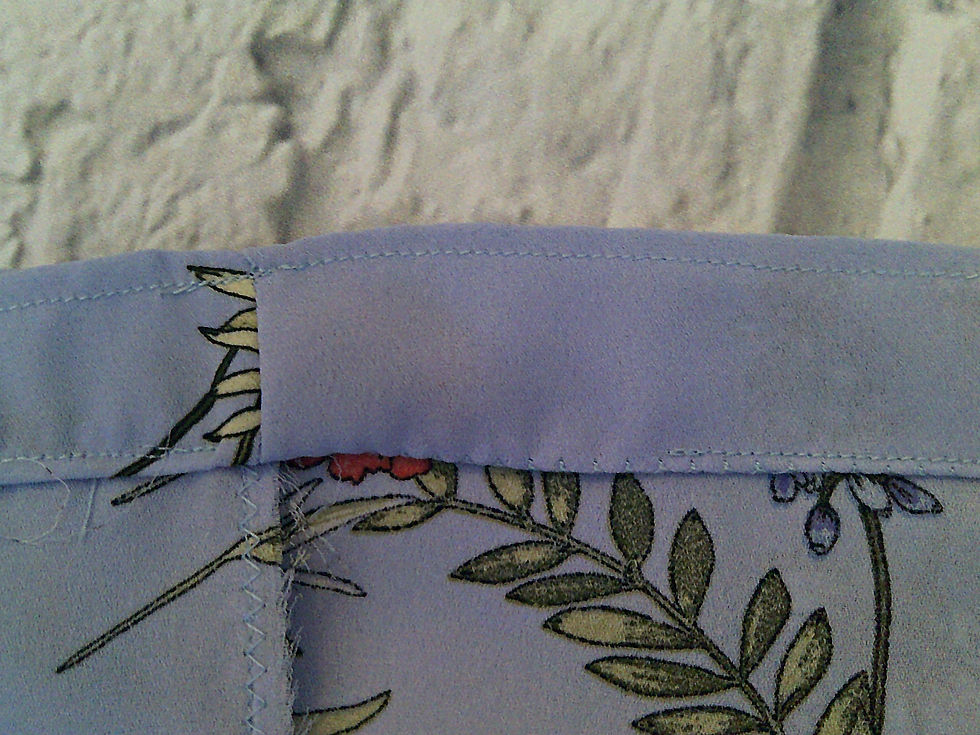
Then sew the casing: sew 1/4" away from the edges all the way, and sew on the line where you've turned yoyr raw edges in. Leave an inch open like shown here:
Now is the time to add the elastic. Measure your neckline, mark the elastic, add an inch for the overlap, and cut. Repeat the same process for the sleeves and waist. Then place a nursing pin at the end of your elastic so you can slide it through the casing easily.

Don't forget to hold the other end of the elastic with a pin on the top

Then overlap your elastic ends by 1/2" and trim the raw edges like so

Then simply sew the inch that was left open for the elastic, and you're done!

Time to show off your lovely peasant gipsy top! Please show me what you've made by tagging me @seweasypeasy on Twitter and IG, @seweasypeasyblog on Facebook and seweasypeasy on Pinterest using #seweasypeasy

Happy sewing,
Claire xxx


Comments